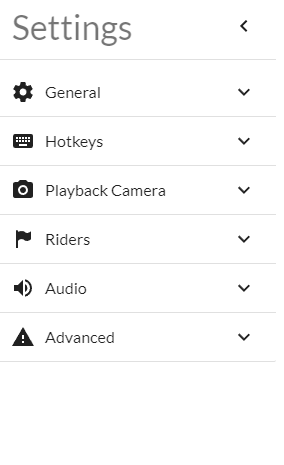
Settings
This is the settings section of the sidebar. Numerous helpful toggles and controls can be found here.
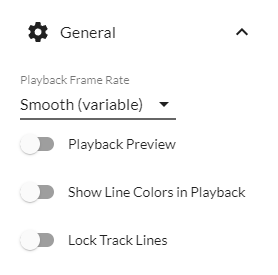
The general section of settings has a few settings relating to how the track shows during playback and editing. The Playback Frame Rate is usually set to Smooth, but can be changed to 40 fps to view discrete physics frames or 60 fps for rendering videos. The Playback Preview toggle renders what lines will look like during playback while editing, instead of their line type color (red, green, or blue). The Show Line Colors in Playback toggle does the opposite of playback preview, in that it renders the line type color during playback mode. Finally, the Lock Track Lines toggle controls whether blue and red lines can be edited.
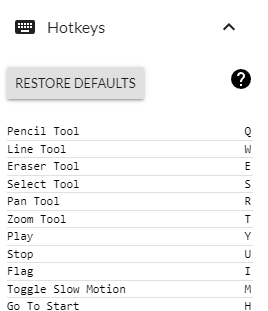
Next, the hotkeys section of settings allows for rebinding and seeing bindings of various keyboard shortcuts. Currently, only rebinding of characters is supported, and there are no plans to add modifier support for the foreseeable future. The RESTORE DEFAULTS button reverts all keys to their default presets. To rebind a key, click on the key bind, press an alphabetic character, and press enter.
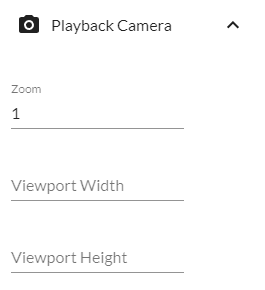
Below the hotkeys are the playback camera settings. The first field is Zoom level, which is how zoomed in or out the camera is during playback. The next two settings control the Viewport Width and Viewport Height of the camera. Some examples of viewport resolutions include HD (1280 x 720) and full HD (1920 x 1280).
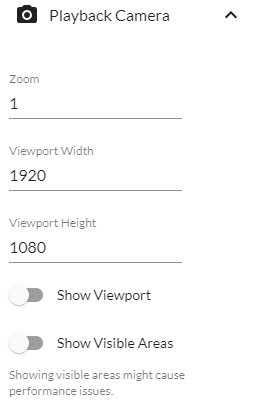
Upon filling out the viewport dimensions, a couple new toggles appear. The first toggle, Show Viewport, shows where the camera is looking at during the current playback frame, as well as the collision box of the camera that causes it to move with the rider. The second toggle, Show Visible Areas, grays out all of the portions of track invisible to the camera up to the current index in the timeline.
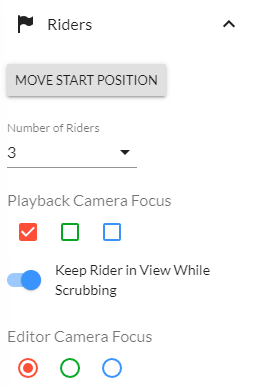
The riders section is where Number of Riders can be selected via a dropdown. It also includes a tool MOVE START POSITION for moving where each rider starts. The Playback Camera Focus checkbox array below the dropdown is for selecting which rider(s) the camera should focus between. The Keep Rider in View While Scrubbing toggle below that prevents the editor camera from moving with the rider(s) while using the timeline. For multiple riders, the Editor Camera Focus section can be set to focus on one particular rider when scrubbing.
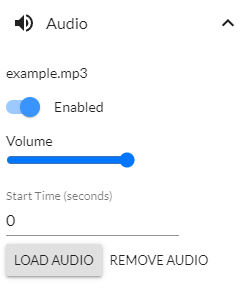
The audio section is where audio files can be loaded to play over the track. Most audio formats are supported, such as mp3 or ogg.
When loading an audio file, new settings are presented. The Enabled toggle can enable and disable the audio, where disabling the audio is the same as setting the volume slider to zero. The Volume slider controls how loud the audio plays, and the Start Time field adds offset between the track start and audio start. A negative start time plays the audio at some point in the middle, while a positive start time adds some delay before the audio plays.
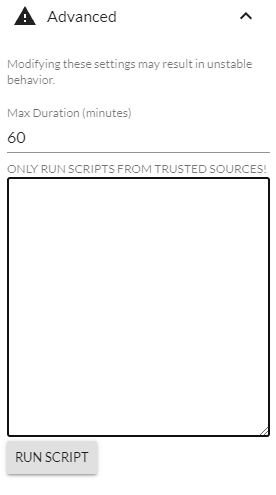
Finally, the advanced section is more experimental features are located. The first field, Max Duration, determines the hard limit of how long the timeline runs before it stops. The large text area below that is for the track script. Writing and running track scripts is explored more in-depth in the scripting tutorials section.
